


Invoke workflow
2.5D Tile Generator
The 2.5D Tile Generator workflow is designed to generate stylized isometric illustrations—ideal for mobile games or tile-based design systems—with control over visual style, layout fidelity, and compositional cues.


How to Use It
- Download the required LoRA model: Download the TileXL LoRA model from https://civitai.com/models/1455220/tile-xl and upload it into your project via the Model Manager.
- Download and import the JSON workflow: Download the .JSON file of this workflow. On your Workflows tab, click "Load Workflow from File" and select the downloaded .JSON file.
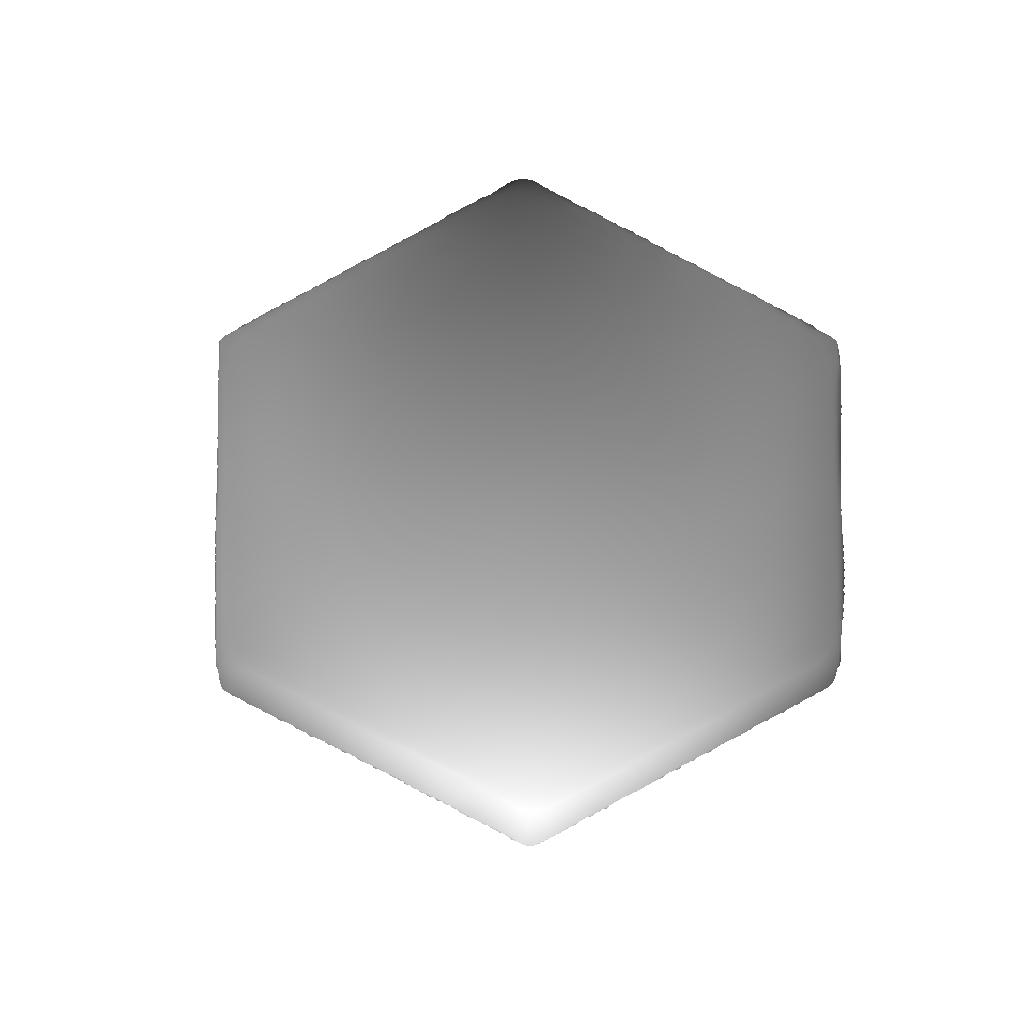
- Configure your White Template Tile (download below) and your ControlNet Tile (download below).
- Select your base model: Choose a model compatible with SDXL, such as juggernautXL. This provides the foundational aesthetic and generation capabilities.
- Enter your prompt: In the User Prompt field, describe what you want to generate (e.g., “volcano++, magma, mobile game style, illustrative”). This will be dynamically framed by a predefined tile art style prefix and isometric suffix for consistency.
- Adjust style strength: Use the Tile Style Strength slider to set how strongly the LoRA (Low-Rank Adaptation) influences the style. Suggested range: 0.3 to 0.9.
- Fine-tune ControlNet influence: If using structural guidance (like edge maps or pose inputs), you can tweak ControlNet Weight from 0 to 1 to control how much the structure input affects the output.
- Invoke the workflow: Click ‘Invoke’ to generate your image. The workflow automatically combines prompt conditioning, noise generation, style mixing, and structural guidance behind the scenes.
How It Works
- Model Initialization: The workflow starts by loading the selected SDXL base model (e.g., juggernautXL), initializing it with UNet, CLIP, and VAE components for text-to-image generation.
- Prompt Construction: A final prompt is built by joining three parts: a fixed style prefix (“T1L3 Style”), the user’s custom input (e.g., “volcano++, magma”), and a fixed suffix (“2.5d, isometric”) to ensure consistent visual framing.
- Prompt Conditioning: The constructed prompt is processed using the sdxl_compel_prompt node to generate positive prompt embeddings. A corresponding negative prompt suppresses undesired traits (e.g., “flat, blurry, sketch”).
- Style Injection (LoRA): A LoRA adapter trained for tile-style aesthetics is selected and applied with adjustable strength. The adapter modifies the base model’s UNet and CLIP layers to infuse the image with a specific stylistic character.
- Structure Guidance (optional): If enabled, a ControlNet layer processes a structural image input (such as a sketch or edge map). The user-defined control weight determines how much this structure influences the final composition.
- Latent Noise Generation: A random seed initializes a latent tensor at 1024×1024 resolution. This noise acts as the starting point for image generation.
- Latent Denoising: The denoising process begins, guided by prompt embeddings, LoRA-adapted model weights, structural controls, and latent noise. It runs for 30 steps using the DPM++ 3M K scheduler, producing a coherent latent representation.
- Image Decoding & Output: The denoised latents are decoded into a final image using the VAE. The output is rendered to the canvas and can be saved to the gallery for further use.
White Template Tile image:

Controlnet Tile image:
FAQs
Can I use a different model with these workflows?
"Moving towards creation of assets that will actually be placed in game is more demanding. However, a number of companies like Invoke… are focusing on developing effective specialized tools for game artists for both concept art and production assets."

.png)


